
Tuesday, 19 August 2014
Badger
Today's project is a 6x6in card.
I printed a topper sheet from a Joanna Sheen cd-rom, with images by Jayne Netley Mayhew, and a matching background paper. I cut the background paper down so that the small badger was in the bottom right-hand corner. I cut one of the toppers with an X-Cut die and stuck it towards the top left-hand corner. The greeting was cut using a Tattered Lace die and coloured to match the grass in the picture.

Monday, 18 August 2014
Ornate Frame and roses
Another 8x8in card using the Papermania Parisienne Blue Capsule Collection.

I covered the card with an 8x8in paper, then placed a co-ordinating 6x6in paper onto a mat that I coloured with a Spectrum Noir pen to separate the patterns. I cut the three Tattered Lace Ornate Frames and coloured the outer and inner parts to match the blue mat. I coloured the other frame in a contrasting colour, layered them up and added a gold mirri 50 which was cut using the Tattered Lace Elegant Alphabet. I cut some gold mirri swirls from the Tonic Frond Finesse set of dies, and made some roses from the Britannia Large Rose dies. I coloured the roses in the same contrasting red as the second frame.
I covered the card with an 8x8in paper, then placed a co-ordinating 6x6in paper onto a mat that I coloured with a Spectrum Noir pen to separate the patterns. I cut the three Tattered Lace Ornate Frames and coloured the outer and inner parts to match the blue mat. I coloured the other frame in a contrasting colour, layered them up and added a gold mirri 50 which was cut using the Tattered Lace Elegant Alphabet. I cut some gold mirri swirls from the Tonic Frond Finesse set of dies, and made some roses from the Britannia Large Rose dies. I coloured the roses in the same contrasting red as the second frame.
Sunday, 17 August 2014
Red, white and blue
Today's project is an 8x8in card.

I used a 6x6in paper from the Papermania Parisienne Blue Capsule Collection pack and placed this on a mat towards the top right of the card. I cut the four Chantilly Petal corners, by Tattered Lace, from white Centura Pearl card and coloured them with a Spectrum Noir pen to match the blue on the paper. I cut a central panel and again coloured it to match. The sentiment is from the Tattered Lace All Occasions dies. I cut two strips of a satin finish paper, coloured them to match and added them to left and bottom of the card to look like ribbon. I cut and made the roses from the Britannia Rose dies and added these for embellishment.
Saturday, 16 August 2014
Decoupaged rose
Now for a 6x6in MDF picture frame.
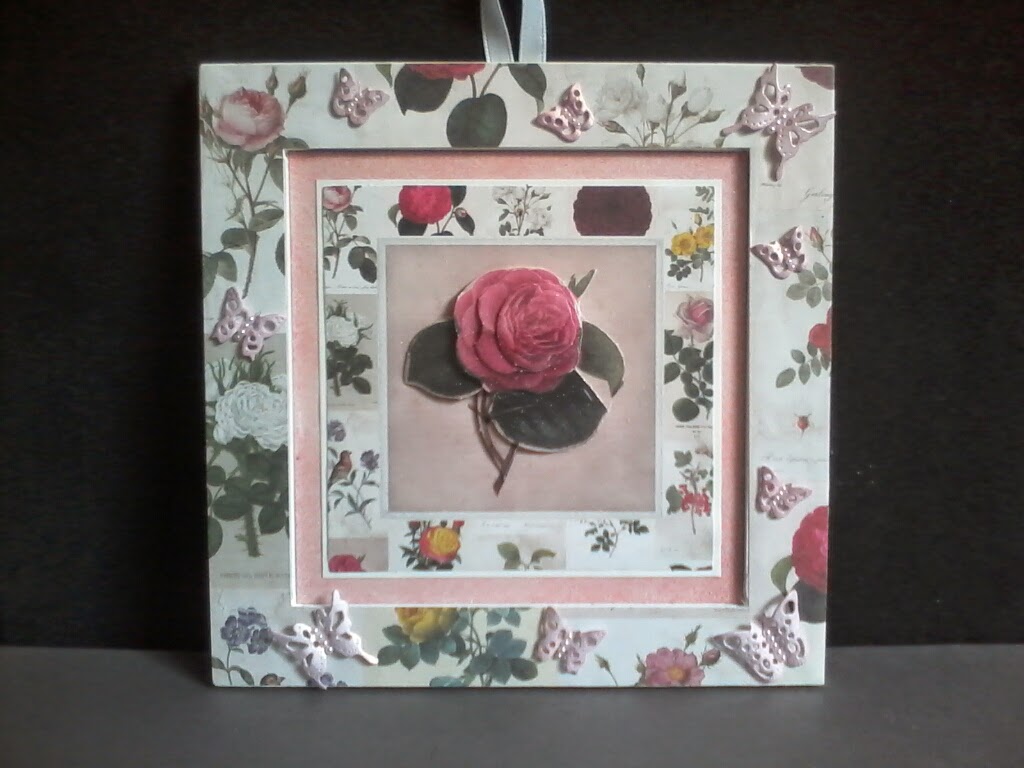
I painted the frame white, added a ribbon loop to the back of the frame and covered this with a patterned paper to hide the workings. Using the same paper, from the Papermania Botanicals collection, I cut a frame for the front. I made up one of the decoupage images from the collection, shaping each of the layers with my fingers to give a more realistic look, and layered it up using 3d glue gel. I matted this onto a piece of white paper and a piece of paper coloured with Victorian Velvet Distress Ink which was cut to fit into the central piece of the frame. I cut several small butterflies using Cheery Lynn dies, coloured them with the Victorian Velvet Distress Ink, and stuck them around the outer frame. I added miniature pearls to the centre of each butterfly.
I think this would make a beautiful picture to hang on the wall, hope you agree.
Friday, 15 August 2014
Butterflies
Another card designed by the fabulously talented Sheena Douglass.
)
This card uses one of Sheena's embossing folders, distress inks and gilding wax. That's it - simples.
Thursday, 14 August 2014
Floral Panel
Back to a card.
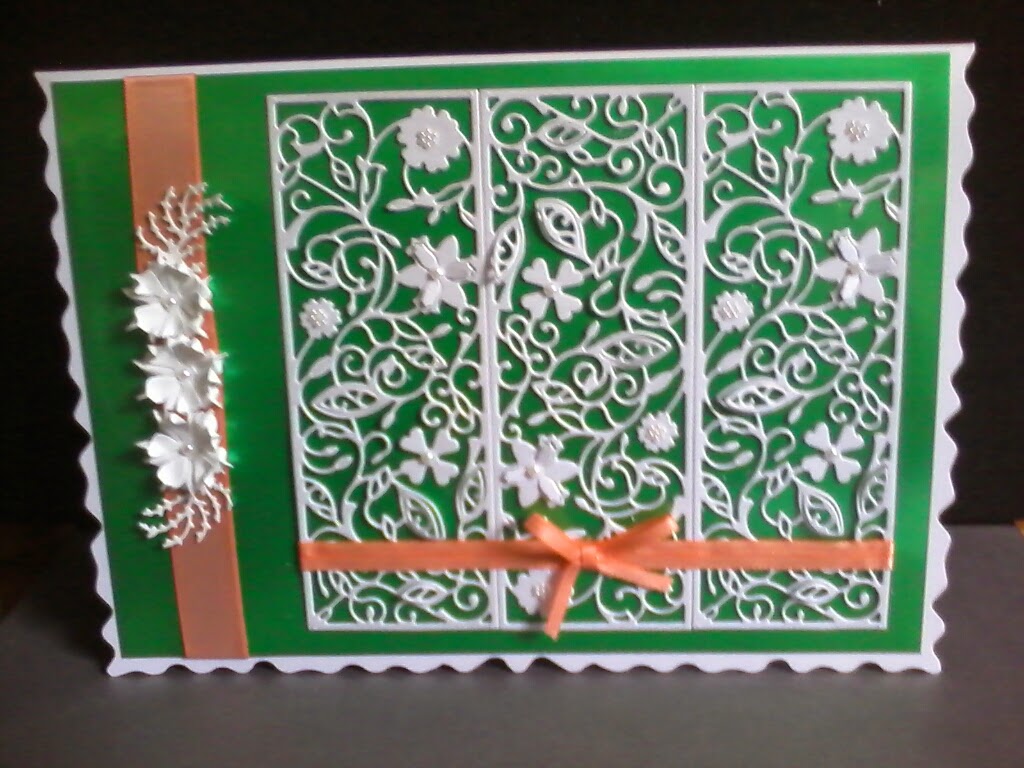
This is an A5 tent-style card. I cut the mat from satin mirri card and attached a piece of peach ribbon around it. I cut three panels with the Tattered Lace Floral Panel die. I stuck the three panels together with tape on the back, turning the centre one upside down. I put two narrow strips of ribbon across the front, added a bow and adhered the panel to the card. The flowers were made from the Britannia Medium Rose die. The leaves were also cut from a Britannia die. I added pearls to the centres of the flowers on the ribbon and also to each of the flowers on the panels. There are seven miniature pearls in the centres of some of the flowers, fiddly to do but very effective.
Wednesday, 13 August 2014
Blue Masu Box
I've been making gift boxes.


This box is based on the origami Masu box. I used two 12x12in pieces of card to make a 4x4x2in box with lid. I found the instructions at www.homemade-gifts-made-easy.com/. Easy is right, the instructions were simple to follow, although I did adapt them a bit, as I was using card, to make the folds easier. In other words, I cheated. Origami is all about folding, but I took the scissors to it. Looks good though.
Subscribe to:
Posts (Atom)